|
April 17, 2011 - Bonus Blog: Easter Egg Cake
Click here for short instructions
I hope that some readers stumble upon this blog between my regular posting times. While taking my daughter to an Easter Egg hunt yesterday, I thought of a simple but fun cake idea. The special part about this cake are that there are SO many fun and unique elements: the cake's shape, the cake's colors and the cake's flavor. Not only is this cake oval like an Easter egg, but the sides of the cake are rounded. Also, in the spirit of dying Easter eggs, we're dying the inside of this cake and giving it some fun flavor combinations.
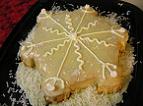
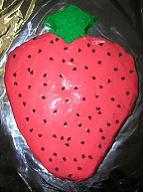
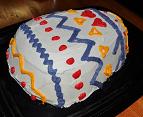
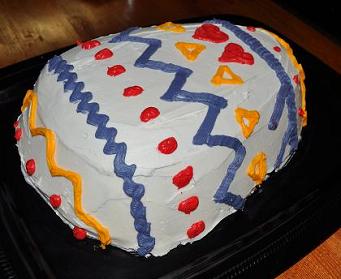
To make this cake, you'll need a Cake-Shaping Strip (look here about how to make one), a sheet pan, prepared cake batter (from about 2 boxes of cake mix), icing (about 3 16-oz. white-icing containers), food dye, and extracts. Here's a picture of the finished product.
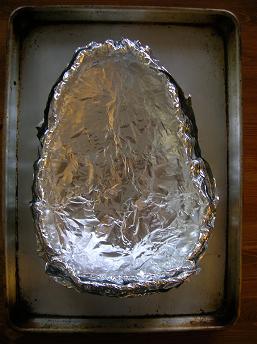
First, make a Cake-Shaping Strip as described here using five sushi-mat segments. Line a cookie sheet with a large piece of heavy-duty aluminum foil. Shape the Cake-Shaping Strip into an oval. Then slightly angle the strips such that the top of the strips form a smaller oval than the bottom. To do this, at semi-regular intervals along the top of the strip, bend it to create very small pockets of overlaps. Then fold the foil around the edges of the strips.
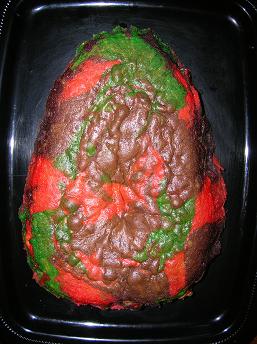
Heat the oven to 350 degrees. Make cake batter using two boxes of cake mix. Separate the batter into several portions. Dye each portion a different color. I highly recommend using a food-coloring gel, not a liquid. The color is so much bolder. Also, add a different flavor extract to each batter portion (e.g., strawberry, orange, pineapple, coconut, ...). If kids are helping you with the project, let them choose the colors and flavors.

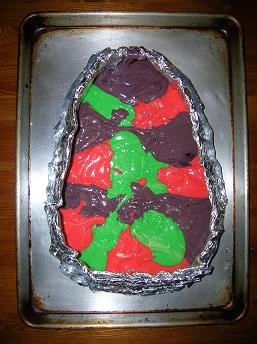
Spray your strip and foil with cooking spray. Drop large spoonfuls of one of the batter portion along the bottom of the "cake pan." Repeat with the other batter portions until a first layer is formed.
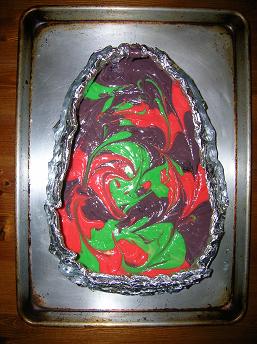
Then use a knife to swirl the batter portions. Repeat this process until all of your batter is used or until you've deemed that your cake will be tall enough.
Bake until the cake is done. Pull the foil down such that it's no longer wrapped around the strip. Then gently separate the strip from the cake. Use a knife if it's helpful to push the cake towards the center of the pan while pulling the strip away. Use a large spatula to make sure that the bottom of the cake is separated from the bottom foil layer. Use several spatulas, hands, or whatever techniques that you have up your sleeve to move the cake to a serving plate.
Apply a crumb coat. I often say that that's not necessary with the strips, but the sides of this cake might be a little more bumpy than most, due to the fact that the top of the strip had overlapping portions. The crumb coat should help even the bumps out, and keep any colorful cake crumbs away from your icing.
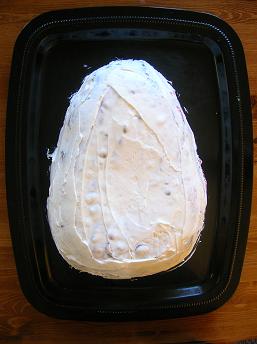
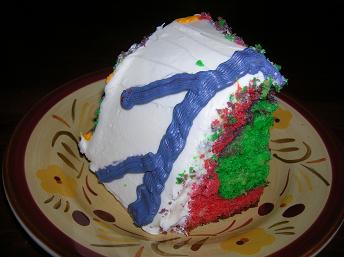
Now it's egg-decorating time. I would think that fondant would work tremendously well to create a smooth egg-shell look. However, I am very inexperienced when it comes to fondant. And since this was a last-minute project inspired by yesterday's outting, I just stuck to store-bought icing. After the base icing's applied, pipe on Easter-Egg designs.
And what fun it will be when your guests or family cut into this cake.
|